At-home video production has become more popular than ever. Whether you want to start a YouTube channel, create social media content, or promote a business, you don’t need a fancy studio to get started. With the right tools, a little creativity, and some basic skills, you can produce videos that look clean, professional, and engaging—all from your own home.
Why At-Home Video Production Matters
At-home video production gives you freedom. You can film whenever you want, try new ideas, and stay within your budget.
Many successful creators started in small spaces like bedrooms or living rooms. What matters most is how you use what you have.
Today’s audiences care more about clear sound, good lighting, and helpful content than expensive gear. That means you can focus on improving your skills instead of worrying about having the perfect setup.
Setting Up Your Space
Choose the Right Location
Pick a quiet spot in your home where you can control noise and lighting. Avoid areas near busy streets, loud appliances, or echo-heavy rooms. A simple background works best. A clean wall, bookshelf, or curtain can make your videos look neat and focused.
Control Your Lighting
Lighting is one of the most important parts of at-home video production. Natural light is a great place to start. Film near a window during the day, but avoid direct sunlight that creates harsh shadows.
If you want more control, use affordable lights like ring lights or softboxes. Place the light in front of you, slightly above eye level, to create a soft and even look.
Choosing the Right Equipment
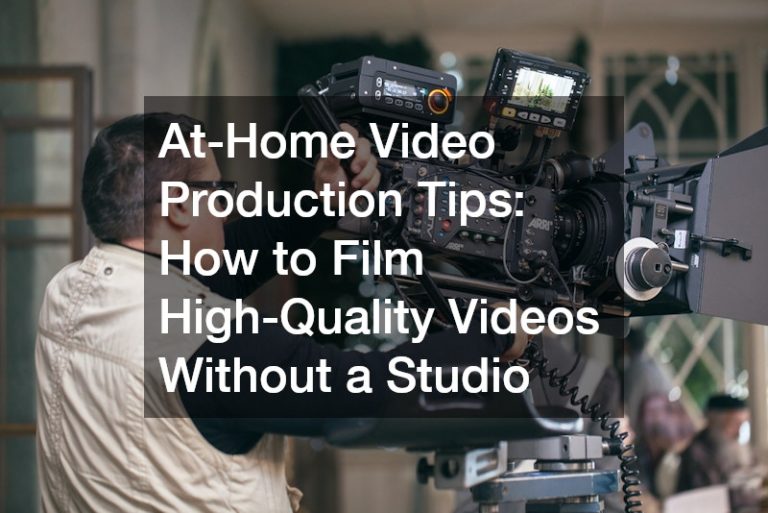
Camera Options
You don’t need an expensive camera to begin. Many smartphones today shoot high-quality video. If you want to upgrade later, consider a DSLR or mirrorless camera.
The key is to keep your camera steady. Use a tripod or a stable surface to avoid shaky footage.
Audio Matters More Than You Think
Bad audio can ruin a good video. Built-in microphones often pick up too much background noise. A simple external microphone can make a big difference.
Lavalier (clip-on) mics are great for talking videos, while shotgun mics work well for capturing sound from a distance.
Basic Accessories
Some small tools can improve your setup:
- Tripod for stability
- Ring light or softbox for lighting
- External microphone for clear audio
- Headphones to monitor sound
These items are affordable and easy to use, making them perfect for beginners.
Planning Your Content
Write a Simple Script
Before you start filming, plan what you want to say. You don’t need a full script, but having key points helps you stay focused and avoid long pauses.
Keep your message clear and easy to understand. Speak like you’re talking to a friend.
Practice Before Recording
Do a quick practice run to check your flow, timing, and energy. This helps you feel more comfortable on camera and reduces mistakes.
Filming Tips for Better Results
Frame Your Shot
Position yourself in the center or slightly off-center of the frame. Make sure your head and shoulders are visible, and leave a little space above your head.
Check your background for distractions before recording.
Keep It Steady
Always use a tripod or stable surface. Shaky footage can make your video hard to watch.
Record in Short Takes
Instead of trying to film everything in one go, break your content into smaller parts. This makes it easier to fix mistakes and edit later.
Editing Your Videos
Editing is where your video comes together. You don’t need advanced skills to start. Simple cuts, trimming, and adding music can improve your video a lot.
Beginner-Friendly Editing Tools
There are many easy tools available, such as:
- iMovie
- CapCut
- Adobe Premiere Rush
These programs let you cut clips, add text, adjust sound, and improve your visuals without being too complicated.
Keep It Simple
Avoid overusing effects. Clean cuts, clear audio, and smooth transitions are enough to create a professional look.
Improving Your On-Camera Presence
Be Yourself
You don’t need to act like someone else. Speak naturally and show your personality. Viewers connect more with real people than perfect performances.
Make Eye Contact
Look at the camera lens, not the screen. This helps your audience feel like you are talking directly to them.
Use Natural Gestures
Hand movements and facial expressions can make your video more engaging. Just keep them natural and not too exaggerated.
Common Mistakes to Avoid
Poor Lighting
Dark or uneven lighting can make your video look unprofessional. Always check your lighting before filming.
Ignoring Audio Quality
Even if your video looks great, poor sound can drive viewers away. Always test your audio.
Overcomplicating Your Setup
You don’t need a lot of gear to succeed. Start simple and upgrade as you improve.
Growing Your Skills Over Time
At-home video production is something you get better at with practice. Try new ideas, learn from your mistakes, and keep improving.
Watch other creators to see what works. Pay attention to how they use lighting, sound, and editing. Then apply those ideas to your own videos.
Consistency is key. The more you create, the more confident and skilled you will become.
Final Thoughts
At-home video production is a powerful way to share your ideas, tell stories, and connect with others. You don’t need a big budget or a professional studio to get started. With simple tools, good planning, and practice, you can create videos that look and sound great.
Remember to focus on clear audio, good lighting, and strong content. Start small, learn as you go, and enjoy the process. Over time, your skills will grow, and your videos will improve.
By staying consistent and creative, at-home video production can open doors to new opportunities and help you reach a wider audience—all from the comfort of your own home.
Author
Alex Mitchell
Daily Science Journal's Picks

How the Best Invisalign Marketing Company Can Expand Your Patient Base
You already know Invisalign can change lives. That’s probably why you built your business in the first place. A 2022 Google Trends

How to Spot a Great Battery Store in Jefferson, LA (And Why Testing Matters)
Battery testing matters – It helps identify deeper electrical issues and prevents premature battery replacements. Not all tests are equal – In-vehicle

Harnessing the Power of CNC Machining in Revolutionary Medical Devices
In an era where technological advancements intersect with healthcare, the demand for innovative medical devices has surged dramatically. Leading this transformation is